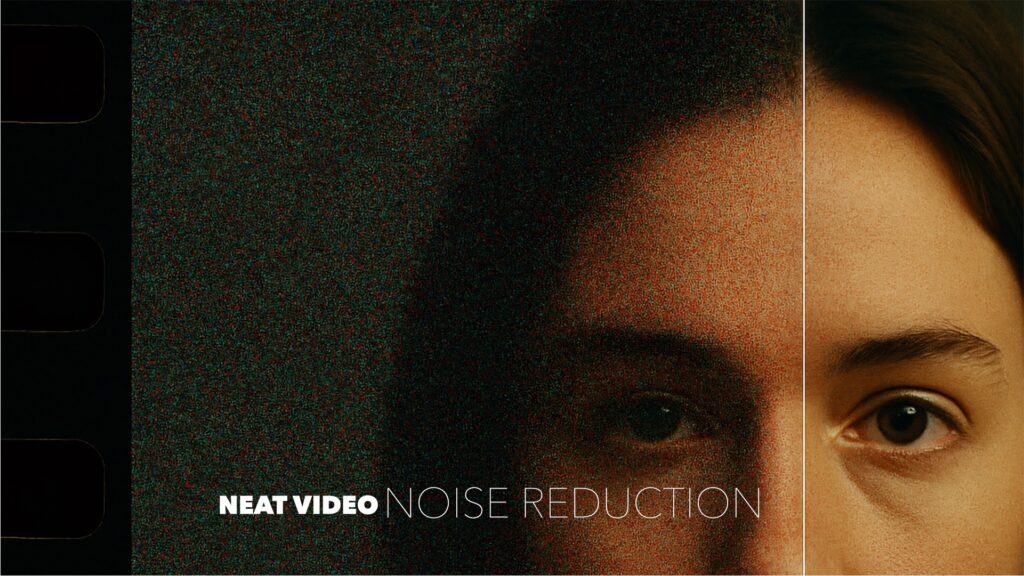
Noise Reduction
Best Neat Video Settings in DaVinci Resolve: Why Linear Workflow Is the Key
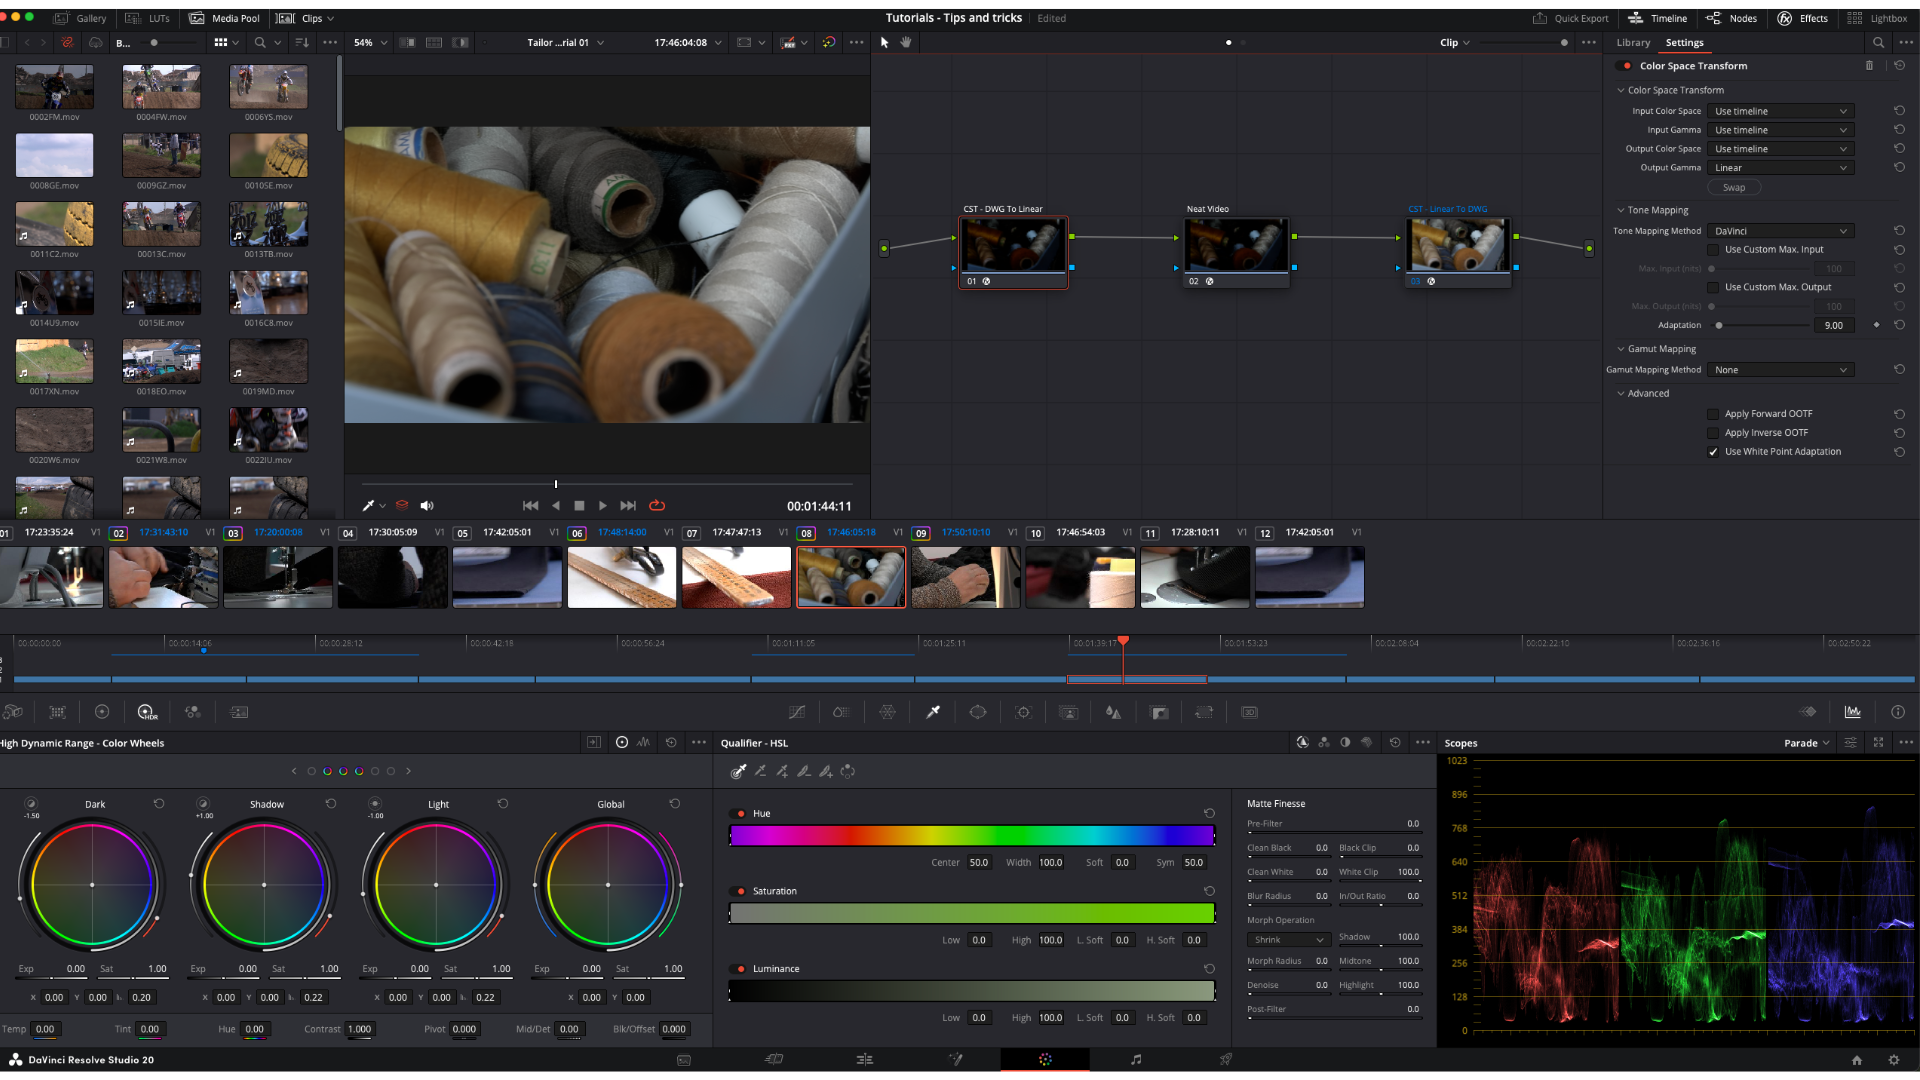
Best practices for neat video workflow
Neat Video is widely considered the most powerful noise reduction plugin available for DaVinci Resolve. But if you’ve ever applied it and ended up with “plastic-looking” footage or ghosting artifacts, you’ve probably missed one key detail: how Neat Video interprets your footage’s color space and gamma.
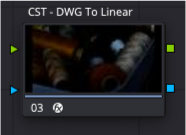
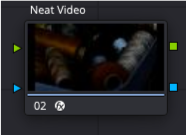
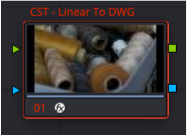
Where to Apply Neat Video in Resolve
Neat Video can be applied in the Edit page, Fusion, or the Color page — but the Color page is the best choice. Here’s why:
-
Node control: You can place Neat Video early in the chain, before creative grading. This cleans the “truth” of the footage.
-
Caching: You can cache the Neat Video node separately for faster playback.
-
Flexibility: The node system lets you blend back some original detail or re-grain after cleaning.
Fusion is slower for Neat Video, and Edit offers less control. The Color page workflow is faster and cleaner.
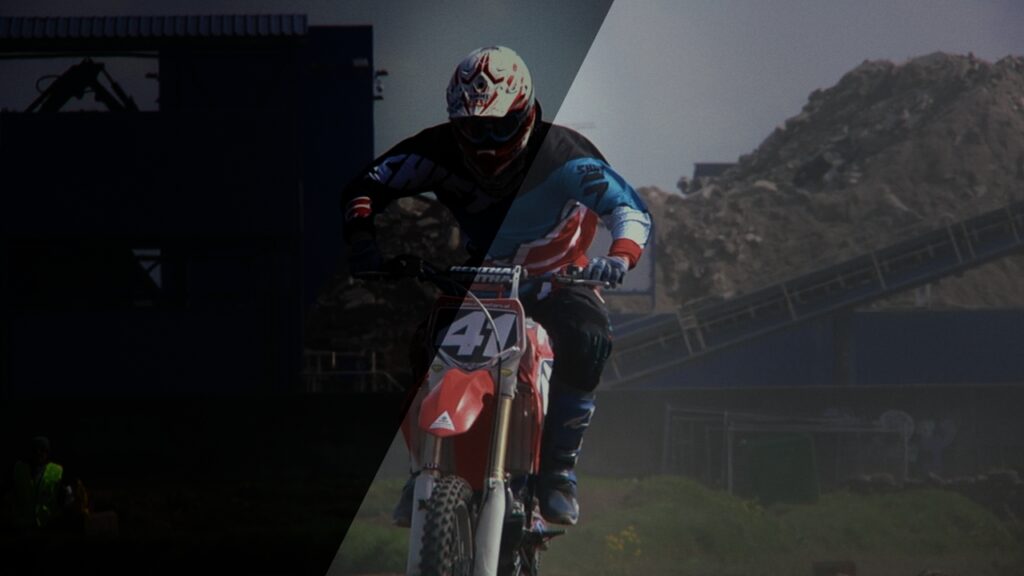
Linear vs Gamma Workflow: The Most Important Step
Most tutorials skip this, but it’s the foundation of professional noise reduction.
-
Gamma footage (Rec.709, log): Shadows are expanded and highlights compressed. This exaggerates noise in shadows and hides it in highlights. Neat Video’s noise math becomes inaccurate.
-
Linear footage: Pixel values represent real light intensity. Noise is measured exactly as the sensor captured it. Neat Video’s profiling becomes far more accurate.
Optimize Performance for Your Timeline Resolution
Neat Video lets you test CPU vs GPU performance with its Optimize function. Always run this at the highest resolution you expect to work with (e.g., 4K). Results will still be valid for smaller projects.
-
VRAM slider: Controls how much GPU memory Neat Video can use. Keep it just below the red zone.
-
Green arrow: Neat Video’s recommended safe value.
Do this once, and Neat Video will always know the fastest way to process your footage.

Building the Noise Profile Correctly
The quality of your noise reduction depends on the device noise profile.
-
Auto Profile: Sample a flat, detail-free area (wall, sky, out-of-focus area).
-
Auto Fine-Tune: Neat Video refines the profile using the full frame.
-
Auto Complete: Fills in missing frequency ranges.
Avoid detail like hair or skin in your sample area — otherwise Neat Video will treat detail as noise and erase it.
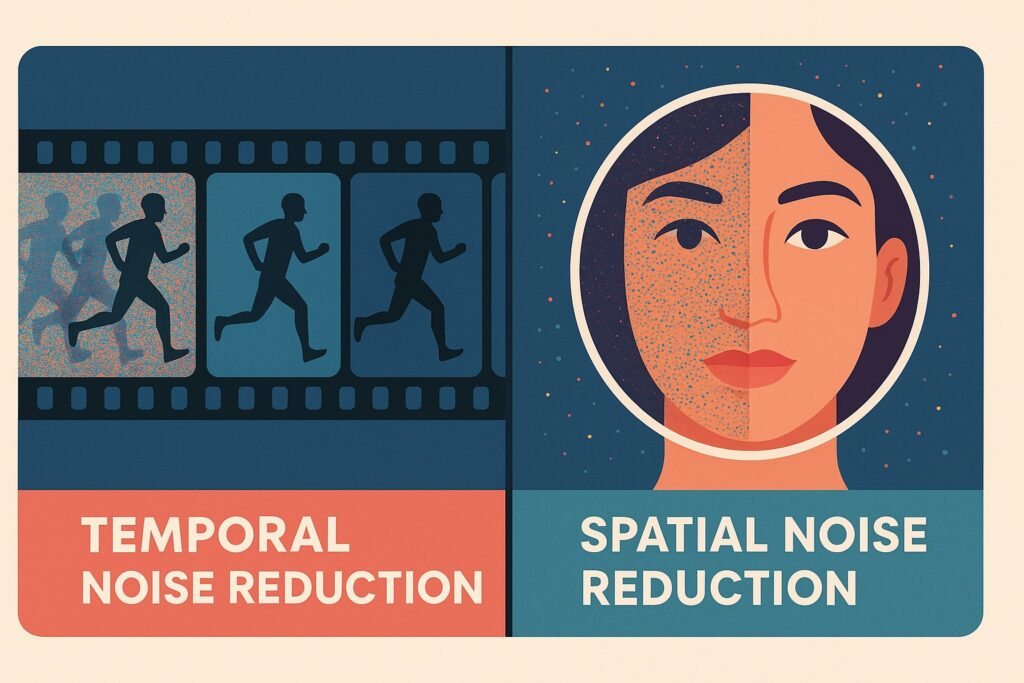
Temporal vs Spatial Noise Reduction
Neat Video uses both temporal and spatial filtering:
-
Temporal (over multiple frames): Reduces dancing noise and flicker by comparing frames. Too strong = ghost trails.
-
Spatial (within one frame): Smooths speckles and blotches. Too strong = plasticky skin.
Best settings to start with
-
Temporal radius: 2
-
Temporal quality: High
-
Temporal amount: 40–60%
-
Spatial luma: Low to medium
-
Spatial chroma: Slightly higher
Think of temporal as the heavy lifter and spatial as the polisher. Together they give a clean, natural look.
Finishing Touches
-
Blend back detail: Use node key gain at 0.85–0.9 instead of 1.0 for a more natural result.
-
Re-grain: Add Resolve’s Film Grain or OFX grain for texture.
-
Light sharpening: Only after re-grain, and keep it subtle.

Key Takeaway
The best Neat Video results in DaVinci Resolve come from:
-
Applying it in the Color page.
-
Converting to linear light before profiling.
-
Optimizing performance once for your max resolution.
-
Balancing temporal and spatial filters carefully.
Do this, and your footage won’t just look cleaner — it will look real, with natural detail intact.
👉 I’ll be releasing a step-by-step video tutorial on this soon, with real-world examples on LOG, RAW, and low-light footage. Subscribe to the TideonVFX YouTube channel to catch it when it drops.
