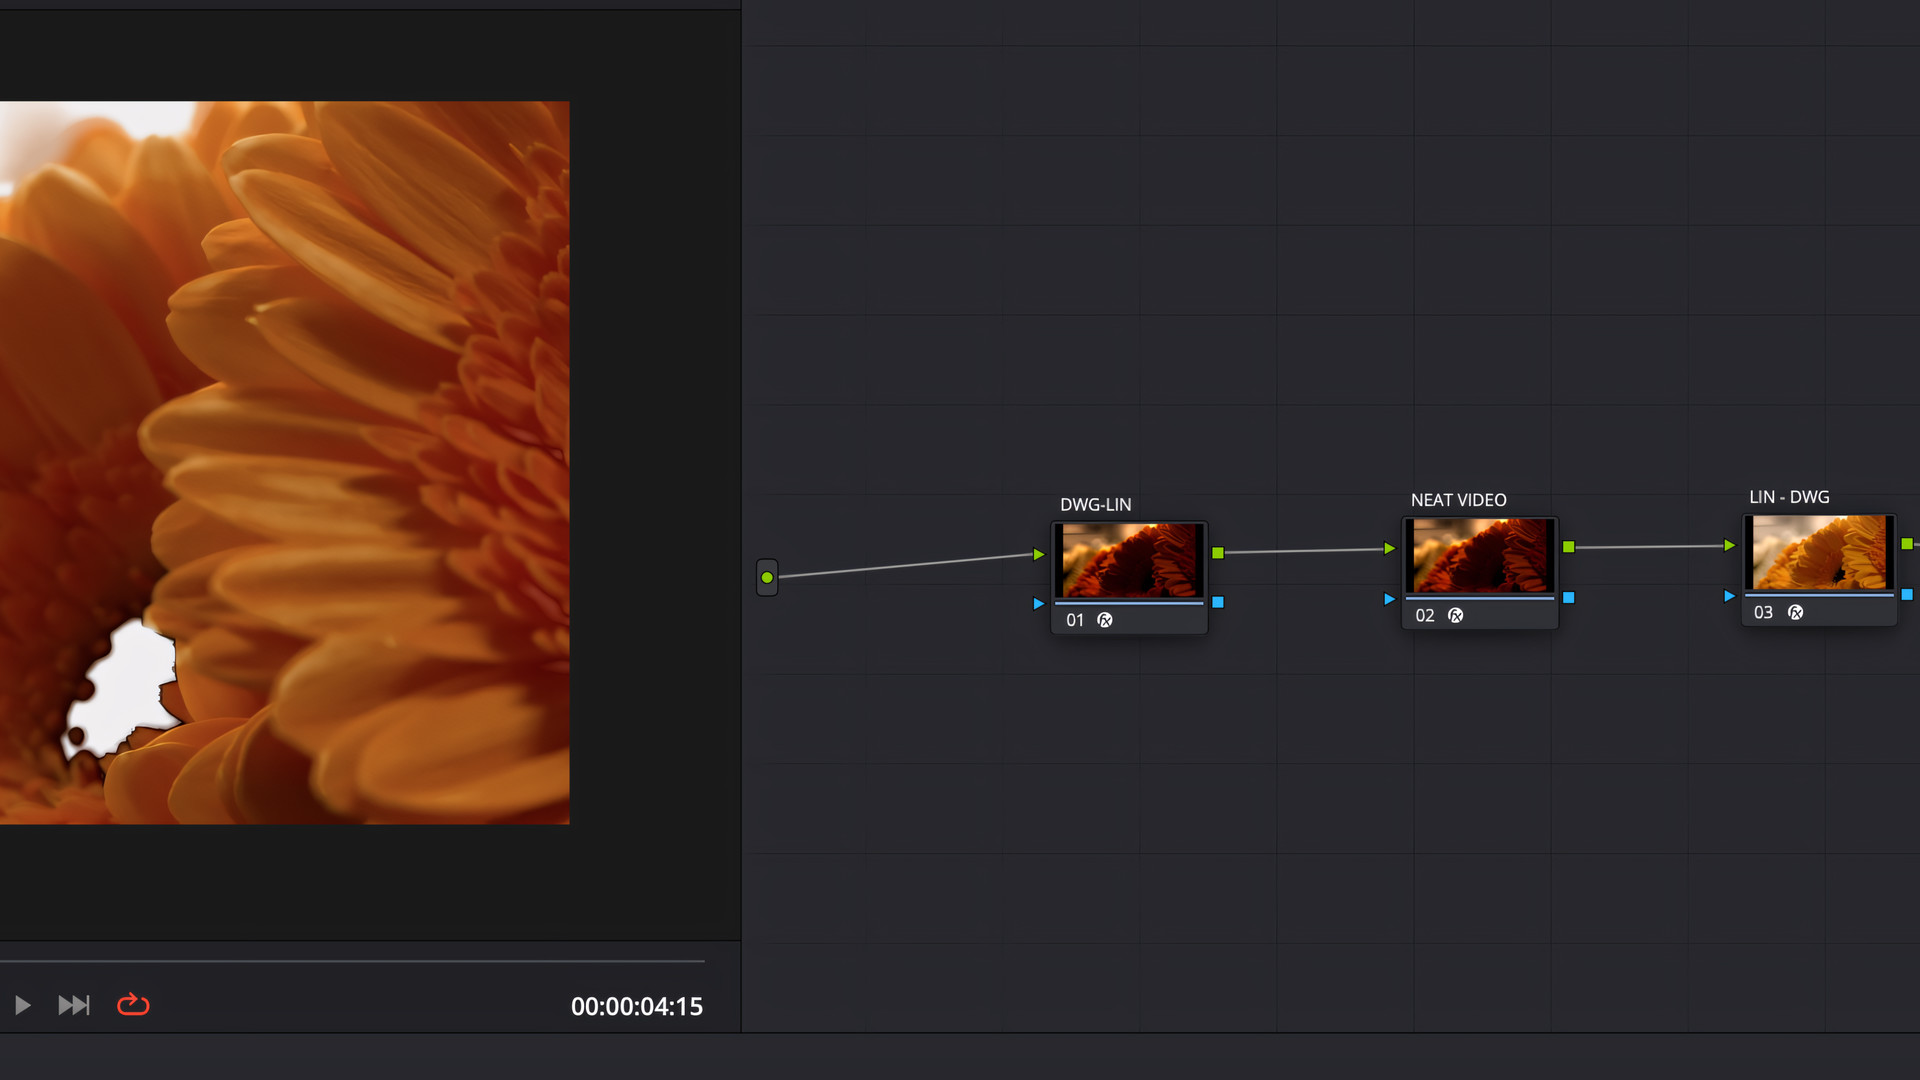
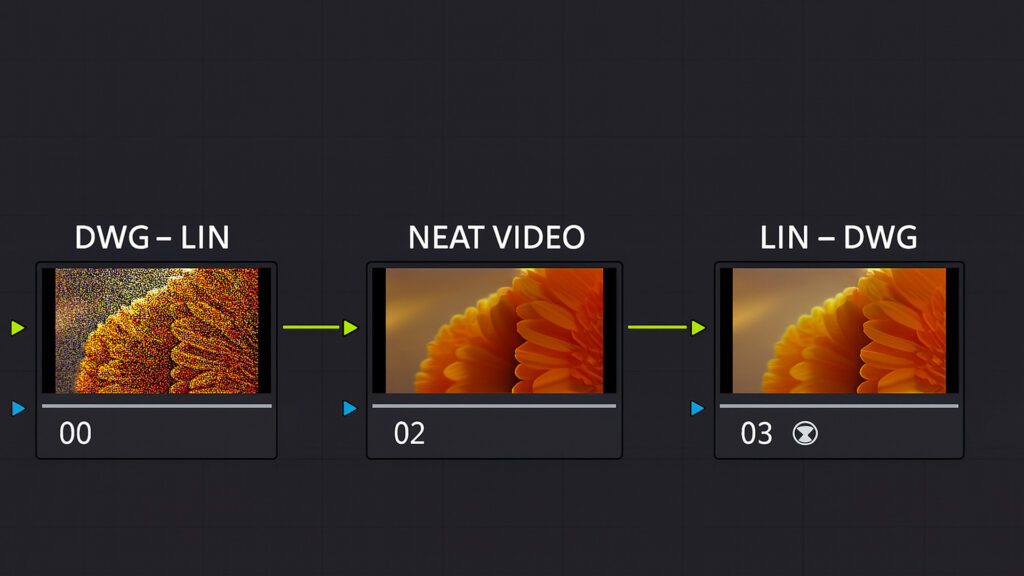
Noise Reduction
Why Noise Reduction Must Happen Before Color Grading in DaVinci Resolve
Why Noise Reduction Must Happen Before Color Grading in DaVinci Resolve
When most editors think of noise reduction, they think of aesthetics: removing digital grain to make an image “cleaner” or “prettier.” But in professional color grading, noise reduction is much more than cosmetic. It is a foundational step that directly impacts the accuracy and stability of nearly every tool inside the Color page of DaVinci Resolve.
Noise is not just visual clutter—it is random, ever-changing data that confuses the mathematical processes Resolve relies on. By eliminating noise at the start of your grade, you are giving the software the cleanest possible signal to work with. This ensures that your qualifiers, trackers, keys, and secondary corrections behave the way you intend.
Why Noise Reduction First?
Resolve’s Color page is built on pixel analysis. Many of its tools work by looking for patterns: hue, luminance, edges, or motion. Noise interrupts these patterns with false values, tricking the software into thinking there’s detail or motion where there isn’t.
If you apply color grading operations on noisy footage, you’re grading the noise as much as the signal. By reducing noise up front, you:
-
Prevent false pixels from being included in keys and masks.
-
Ensure luminance curves respond to real exposure, not random jitter.
-
Make tracking smoother and more reliable.
-
Preserve edge integrity when isolating subjects or objects.
Tools in the Color Page That Benefit from Noise Reduction
Here’s a breakdown of the major Resolve tools that profit directly from having a clean, denoised image as input:
1. Hue, Saturation, and Luminance Qualifiers
-
Problem without NR: Noise creates “holes” in keys, forcing you to blur or denoise after the selection, leading to smeared edges.
-
Benefit with NR: Clean, stable selections where edges follow subject contours rather than random pixel jitter.
2. Power Windows (with Tracking)
-
Problem without NR: The tracker locks onto noise or grain instead of true subject detail, causing drift and jitter.
-
Benefit with NR: Smooth, accurate tracking that follows subjects consistently without constant manual corrections.
3. Magic Mask
-
Problem without NR: AI segmentation gets confused by noisy textures, producing unstable masks.
-
Benefit with NR: Cleaner subject boundaries, fewer misclassifications, and more consistent results across frames.
4. Curves (Hue vs Hue, Hue vs Sat, Luma vs Sat, etc.)
-
Problem without NR: Noise populates false values along the curve, creating unpredictable shifts when isolating subtle hues or luminance bands.
-
Benefit with NR: Curves reflect the true distribution of color and luminance, making adjustments more predictable.
5. Keyers and Mattes
-
Problem without NR: Garbage mattes and chroma key pulls become noisy, requiring heavy cleanup and risking edge detail.
-
Benefit with NR: Keys are tighter and smoother, reducing the need for heavy blur or post key cleanup.
6. Luminance-Based Tools
-
Problem without NR: Lift/Gamma/Gain and HDR wheels amplify noise in the shadows or highlights, exaggerating the problem.
-
Benefit with NR: Tonal adjustments remain focused on the image rather than multiplying noise.
7. Texture Pop / Midtone Detail
-
Problem without NR: These tools interpret noise as texture, “sharpening” grain and producing harsh, artificial results.
-
Benefit with NR: Enhancements target real edges and textures, not random noise.
8. Face Refinement Tool
-
Problem without NR: Facial recognition and region analysis are tricked by noise, especially in skin tones, leading to flicker.
-
Benefit with NR: Cleaner detection of facial regions, resulting in more stable refinements.
9. Color Warper
-
Problem without NR: Noisy pixels spread color points across the mesh, reducing precision.
-
Benefit with NR: Warper points represent true color clusters, giving you surgical control.
10. Fusion Effects (within Color page)
-
Problem without NR: Noise interferes with any pixel-based analysis (tracking, compositing).
-
Benefit with NR: Effects blend more seamlessly, with fewer edge artifacts.

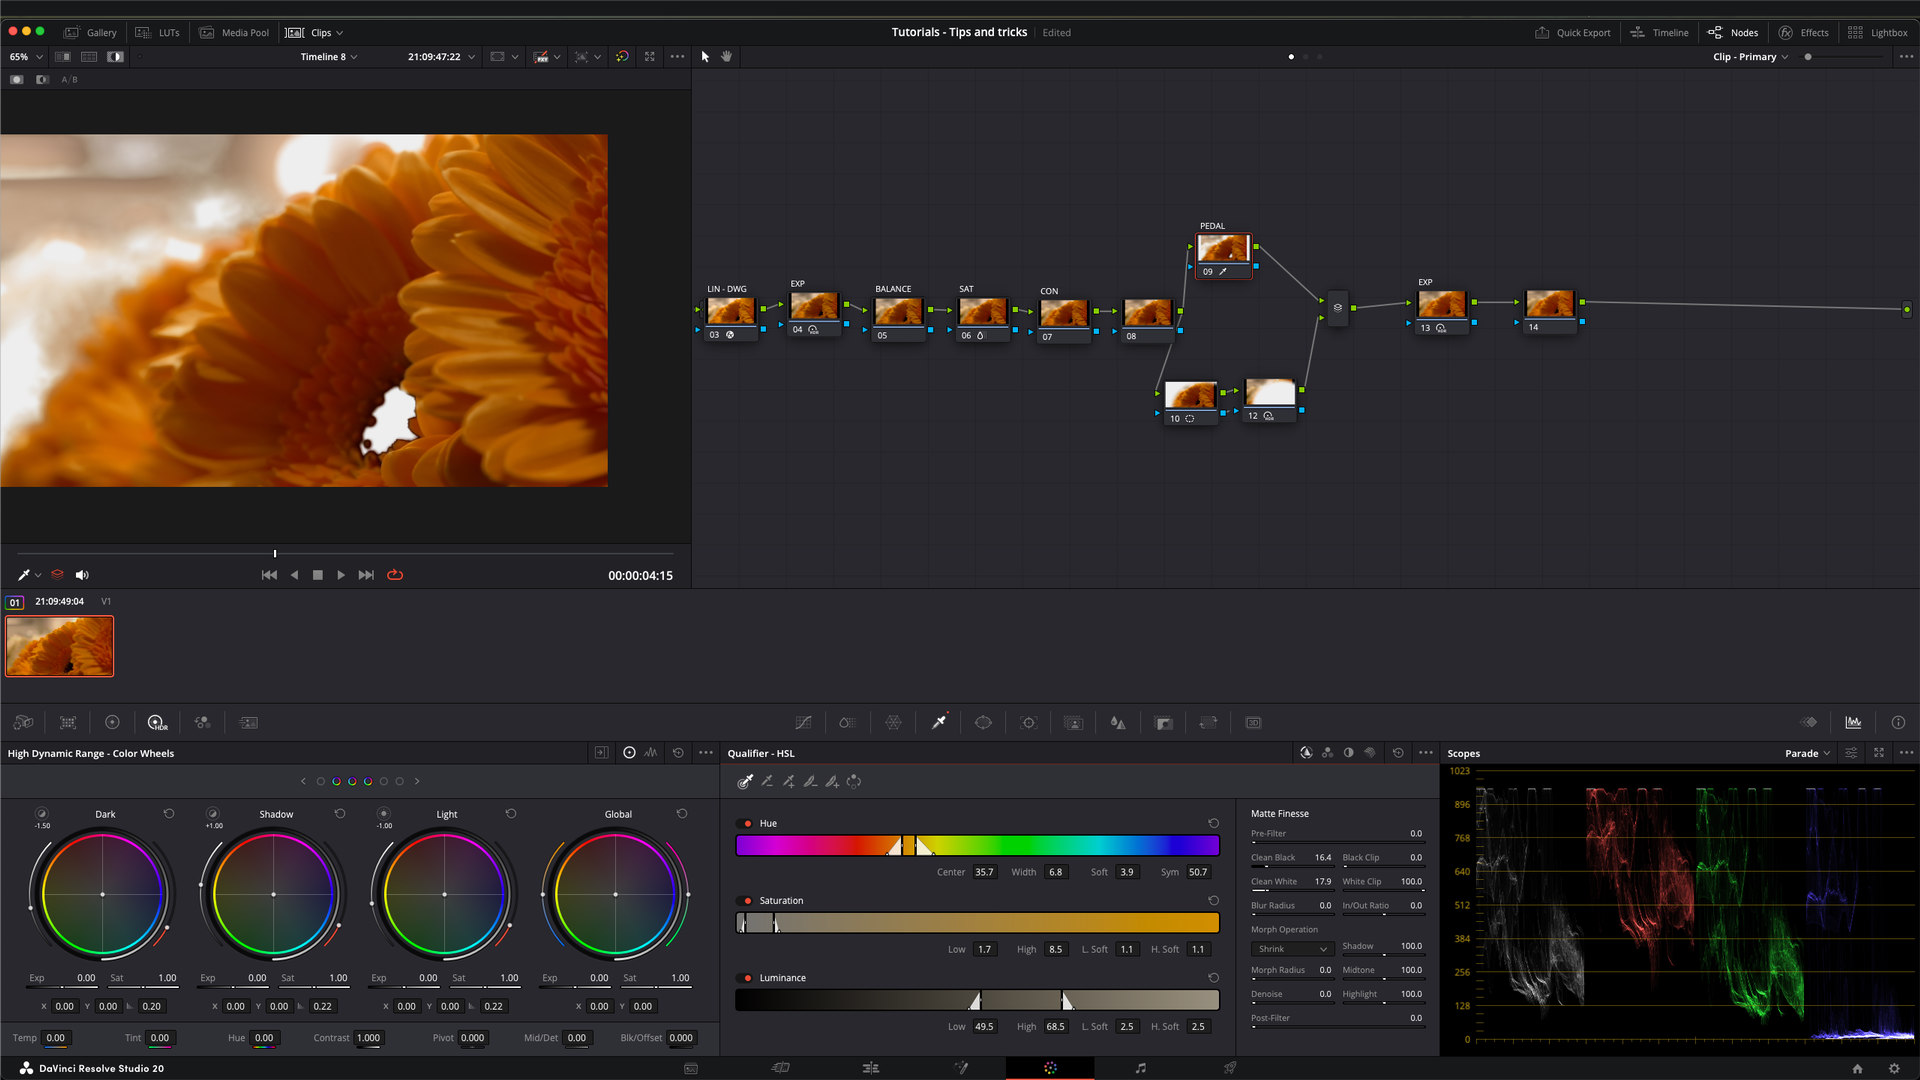
Hue Selection
Shifting the Mindset
Noise reduction is not a luxury or an afterthought. It’s not just about “making the image look smooth.” It’s about structuring your grade on clean data. When applied early, noise reduction strengthens the entire chain of operations in the Color page:
- Cleaner selections → More precise secondary corrections.
- Stronger tracking → Less manual correction, faster workflow.
- Better curve accuracy → Subtle corrections stay subtle.
- More stable AI tools → Fewer errors and faster iteration.
Think of it as preparing your canvas. Just as a painter primes a surface before laying down color, a colorist should reduce noise before sculpting tones, hues, and contrast.

Conclusion
Noise reduction is not about chasing a “clean” look—it’s about building a reliable foundation for your grade. In DaVinci Resolve’s Color page, virtually every major tool benefits from having noise removed early. By shifting our mindset away from aesthetics and toward technical necessity, we unlock more accurate, stable, and creative grading.
The next time you open Resolve, don’t think of noise reduction as a polish step. Think of it as the primer that makes everything else possible.
